Skip to content

Welcome to the 3MS Documentation

The 3MS is short for MMMS, which stands for Modular Multi Material System
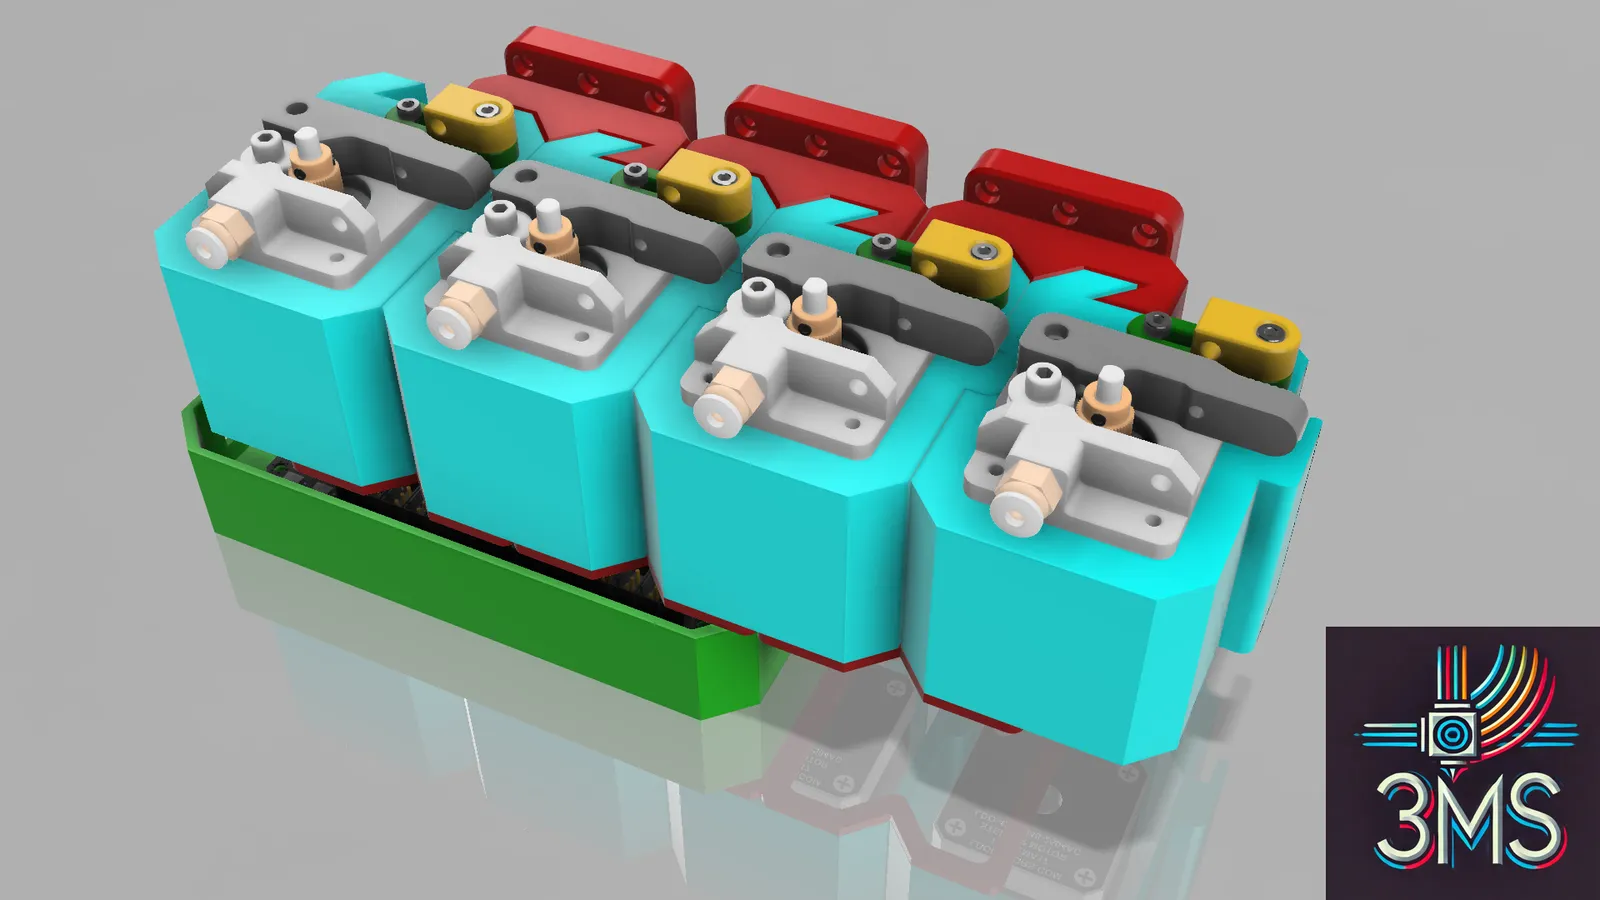
drawing

Inspiration

  • Prusa MMU1
  • Bambu AMS

Sample Prints

Sample Prints

Model: Voron Cube (bundled with OrcaSlicer), painted by me in OrcaSlicer

Printed at 50% scale

Model: T-rex by Cipis

Photos

Photos

Why 3MS?

Why use the 3MS when there are many other multi-material systems?

Here are a few reasons:

  • Simplified Design: Minimal mechanical complexity for increased reliability.
  • Comprehensive Documentation: Step-by-step guides to ensure smooth setup and operation.
  • Slicer-Agnostic: No need for custom toolchange G-Code in your slicer.
  • Scalable: Easily expand the system to handle up to four filaments, with future potential for more.
  • Auto-Retries: Automatic retries on failed tool changes to reduce downtime.
  • No Filament Cutter Needed: Achieve clean tool changes without the need for tip shaping or filament cutters.

With that said, there are a few reasons why you might not want to/be able to use the 3MS:

  • Klipper firmware is a requirement, so Marlin and RRF setups are a no go
  • A filament sensor is required, so if you don't have one/don't plan to get one, the 3MS won't work with your setup

Requirements

To use the 3MS, your setup has to meet the following requirements:

  • Run Klipper firmware
  • Have SSH (PuTTY) access (99.9% of Klipper installations have this, and if you don't you really should setup SSH)
  • Have one spare USB port
  • Have an adapter to install a PTFE tube to the inlet of your printer's extruder.

How it works

Here is a example step by step of what goes on during a single 3MS toolchange from T0 to T1:

  1. The slicer performs tip shaping and filament unloading.
  2. 3MS unloads T0 by 200mm at 4500mm/min (75mm/s).
  3. T0 is desynced from the extruder.
  4. Filament unloading is verified.
  5. T1 is synced with the extruder.
  6. 3MS loads T1 by 210mm at 4500mm/min.
  7. Filament loading is verified.
  8. The printer loads the filament to the nozzle.

For more detail about the Tx command, see Flowchart.

Think of the 3MS as an extension to your current extruder's length. It allows for switching filaments, but while printing allows for all the benefits of your printer's extruder.

The 3MS's motors work together with your printer's extruder. This way, there won't be any additional resistance from pulling the filament through a disabled extruder. Also, unloads and loads to/from the printer's extruder are fully synchronized with the 3MS. This allows for even faster toolchanges!

Get Started

To get started with the 3MS, see the Master Instructions.

Get Started

What about the 3DChameleon?

I recently created a klipper plugin for the 3DChameleon after purchasing a unit. I'm sure my Chameleon could have worked if I had tuned it further, but after several months with only partial success, I gave up. I am still open to pull requests for 3dchameleon-klipper and will do my best to respond to issues there, but I won't be able to test it myself anymore.