Assembly
Follow this guide to assemble your 3MS.
Printed Parts
Enclosure
Y-Splitter
-
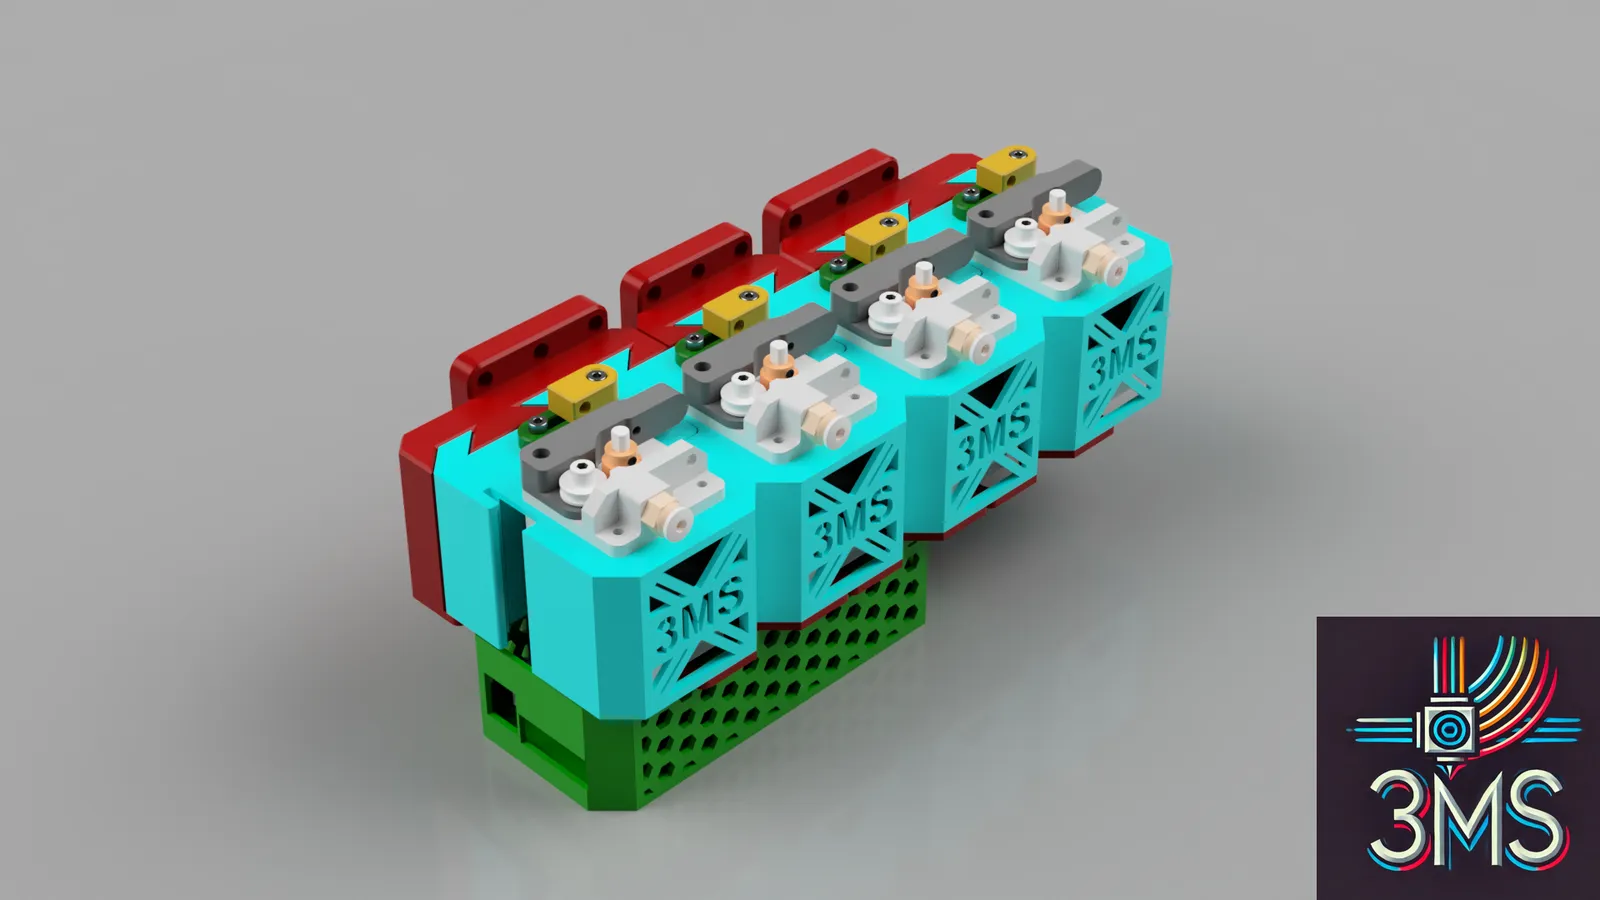
OFFICIAL 4-way Y splitter with ECAS04 designed by 3DCoded.
-
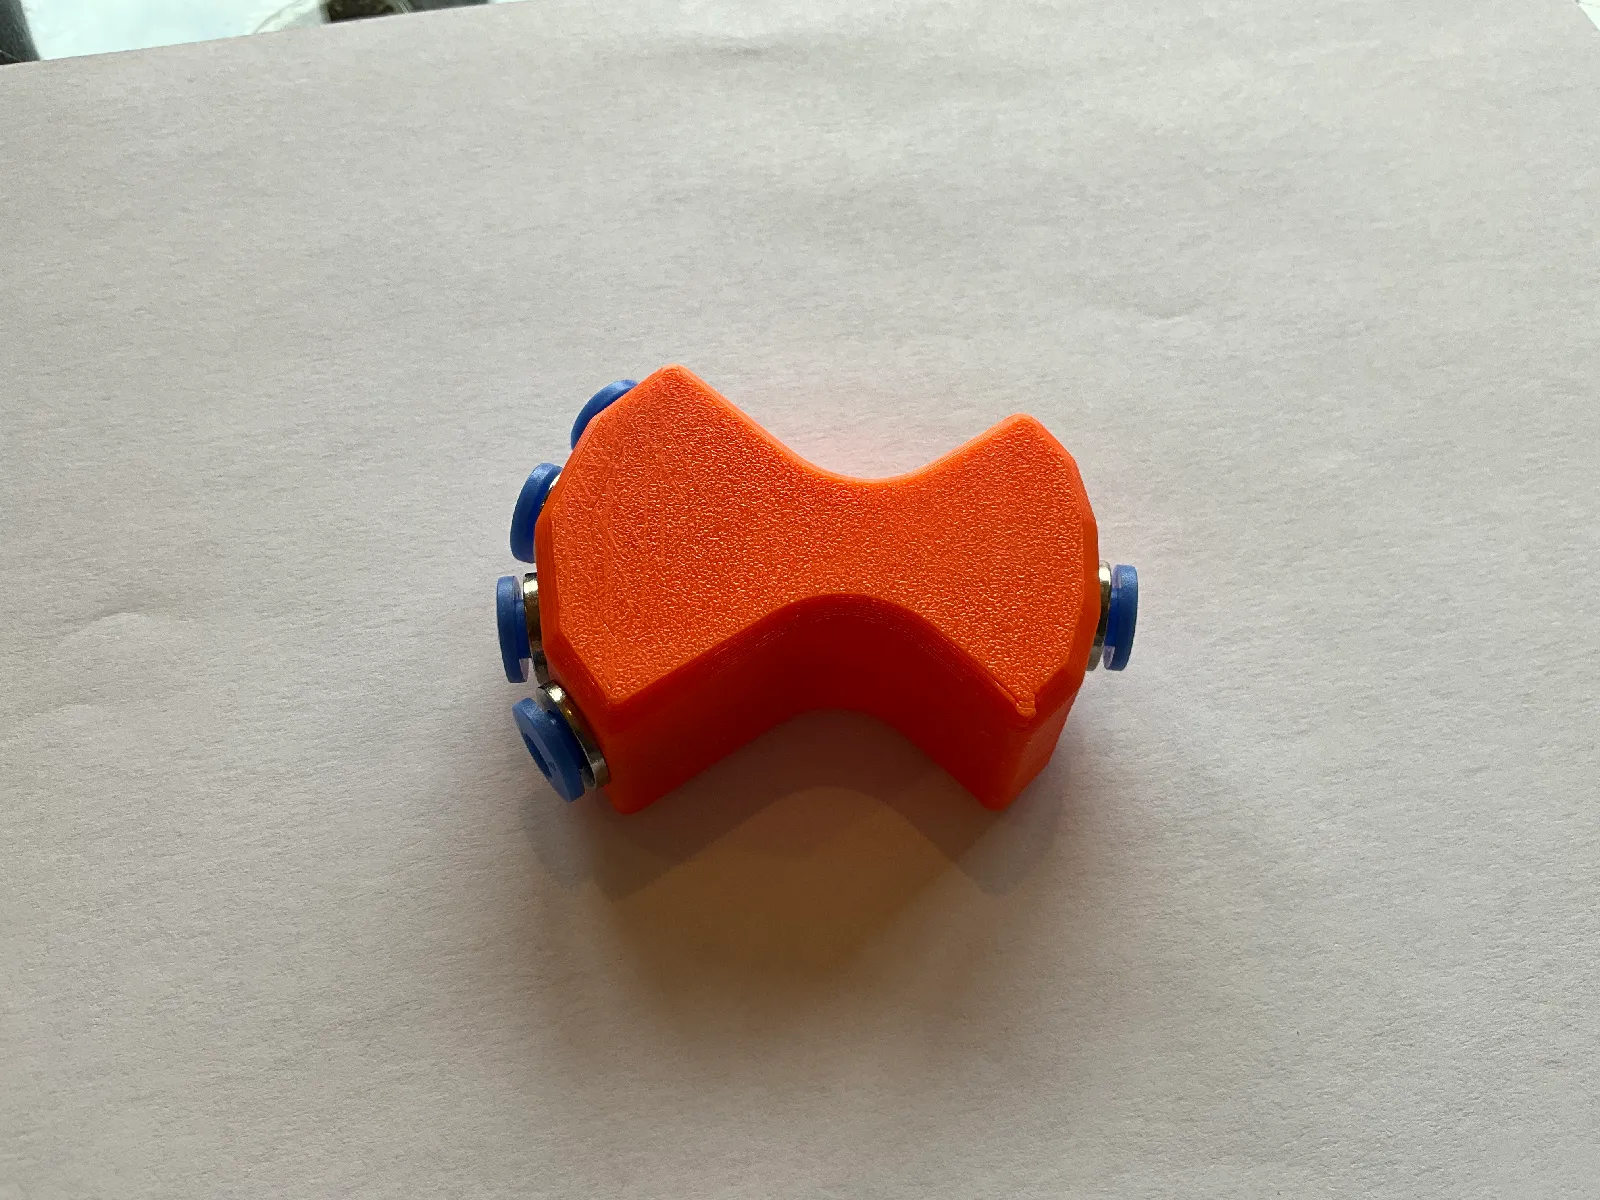
4-way Y-splitter designed by ImChrono.
-
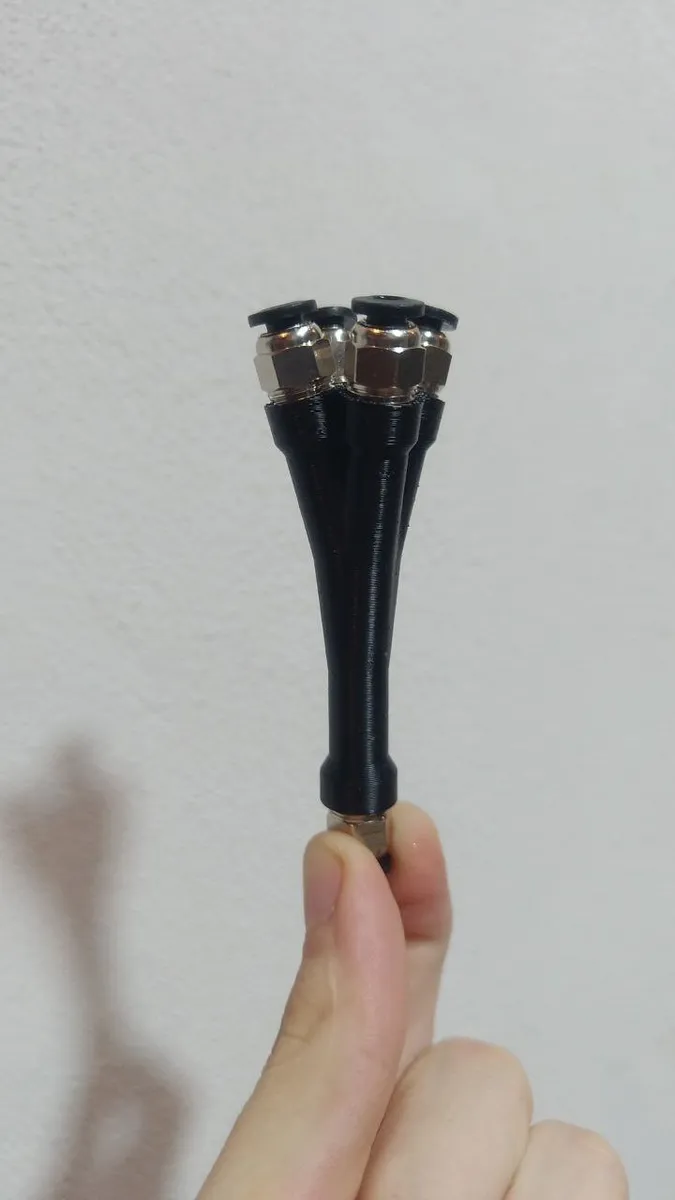
4-way Y-splitter with ECAS04 and M3 Bolt designed by Jager-f.
Filament Units Assembly
- If using any mounting parts, place it on the face of your NEMA17 motor.
- Assemble the MK8 extruders using the instructions that came with them.
- Repeat for all filament units.
Wiring
Note for Certain Printers
If your printer has Klipper running internally (not on an external computer like a Raspberry Pi), the controller (if not a main MCU config) is plugged into a USB port on the printer itself.
Follow one of the following guides based on your controller:
Recommended: BTT MMB


